Pierogi
Making Pierogi- A Labor of Love
Making pierogi is more than following a recipe on a page; it’s about remembering the faces and hands of those that taught you how to make them and connecting to the past. Sometimes I think of this process as a séance without the candles! When making pierogi a, I can still hear my mother’s voice telling me what to do or questioning how finely I chopped the cabbage. Is the dough too soft?? Making pierogi should never be done alone. Always include a family member and/or friends who will stand in your kitchen and help create delicious pillows of dough filled with cabbage/farmers cheese/onions or potatoes/cheddar cheese/onions.
I had my sister Jeannie write the following article on how we make Perogi. Every recipe is a little different and cooking techniques vary depending on individual preferences. The result is usually the same... tired, hungry and happy! (ps, if you find mistakes let us know. Email link is at the bottom of every page.)
Step 1: Buy Farmers Cheese.
My mother and I would always go to Sophie’s place in the Broadway Market (Downtown Baltimore). Always call first to make sure they have it. When I would tell people where I got the cheese they would say – “Oh you can pick that up at Wegmans” – and I ‘m sure you can - but this is an adventure and requires a little more effort, so you need to go to Sophie’s place. While at the market, you can also pick up some little fruit pies for my brother!
Step 2: Cabbage.
Again, listen to my mother as she tells me that the cabbage can’t be too big or it will be tough! On the day before you plan to make pierogi, prepare the filling. Now this is something that you can do alone. Boil the cabbage until tender and then once it has cooled you need to squeeze out as much extra water as you can –a real pain! After that, chop it up finely – remove the hard piece (heart) that runs down the middle of each leave too. I never remember if that should be cut out before you chop it but either way, it needs to come out.
Step 3: Filling.
Take the farmers cheese and crumble it into the cabbage then add sautéed onions, salt and pepper. I think we use about 1 lb of cheese for every head of cabbage but every year the proportions seem to change. It really doesn’t seem to matter, that’s what make them unique. Pierogis can and should be slightly different every time.
For the potato filling you need to peel and cook the potatoes and then smash them – NO MILK OR BUTTER! That will make them too watery! Add shredded cheddar, sautéed onions, salt and pepper.
For the potato filling you need to peel and cook the potatoes and then smash them – NO MILK OR BUTTER! That will make them too watery! Add shredded cheddar, sautéed onions, salt and pepper.
Step 4: Prepare filling balls.
Another helpful step before you start is to make melon ball sized balls of filling and put them on a cookie sheet. This just helps the process move along. Don’t do this until a few hours before you plan to make Pierogi –the filling should be room temperature or cooler – not too cold.
Step 5, the Big Day: Making the dough.
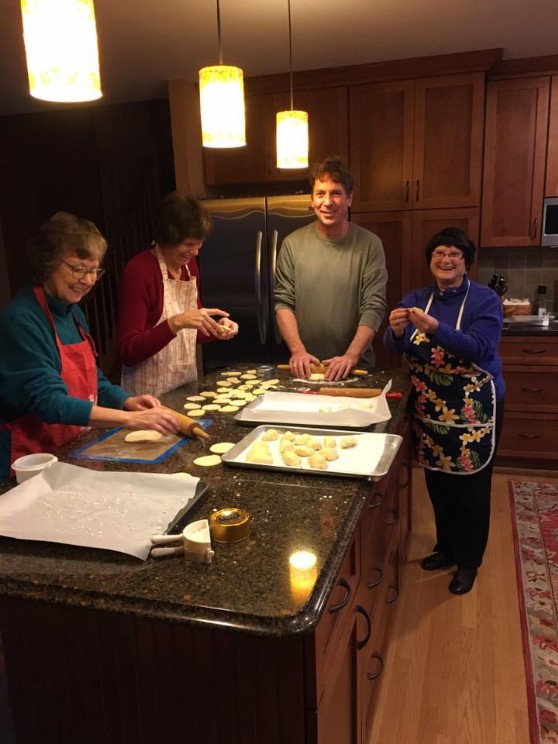
On the pierogi making day have one area for making the dough – a food processor is the only way to go here! If you have a kitchen island have your workers stand around it. Have some rolling the dough; others filling and making pierogi and yet another to boil the Pierogi. Usually the person making the dough is also in charge of cooking the pierogi so start a big pot of water to boiling from the very beginning. We have experimented with a hand cranked pasta machine and the kitchen aid attachment but truly, the best pierogi seemed to be the ones rolled by hand with a rolling pin (except for the year we rolled them too thick and ended up with very, very heavy pillows!)
Step 6: Sealing Pierogi.
Make sure your workers know how to seal the pierogi – we do like some to break open so they can fried in butter and eaten right away, but not too many! There are 2 main ways to seal – crimping and then crimp and turn. We usually use a different technique to distinguish between potato and cabbage. (See attached photos)
Step 7: Cooking Pierogi.
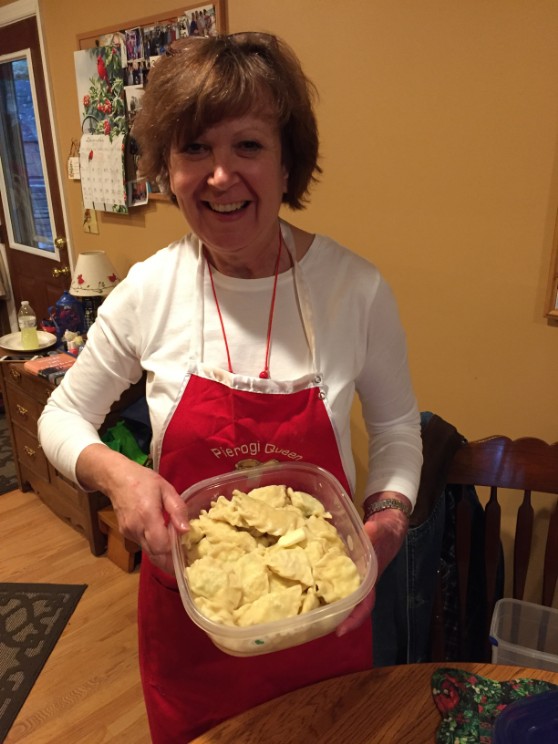
Boil a manageable amount of pierogi (maybe 8 or so) for 3-5 minutes. Remove and place in pot of cold water for a minute or two. Remove and rub with butter, then place in a storage container. Refrigerate or freeze if not eating right away.
After they are cooked reward your workers – saute Pierogi in a pan with butter until they are nice and brown – YUM! Sit around and eat them, savoring every bite of your labor. Or White wine is are perfect beverages to serve with them!
Yes, you can buy Mrs. T’s but making your own Pierogi is an experience you will treasure. Share your skills with the next generation so one day when you are gone, they can remember you as they roll my mother’s dough and talk “Pierogi” around the table.
Yes, you can buy Mrs. T’s but making your own Pierogi is an experience you will treasure. Share your skills with the next generation so one day when you are gone, they can remember you as they roll my mother’s dough and talk “Pierogi” around the table.
Powodzenia!
Here's a recipe for
Cabbage & Cheese and Potato & Cheese Pierogi
This is a traditional pierogi recipe, requiring only basic ingredients; a rolling pin, pots, a stove, a kitchen and 2 hands with approximately 10 fingers. We don't use fancy gadgets (except a food processor) like you might see on-line. Our homemade pierogis are the real deal; hand-made and far from perfect. Besides, your stomach doesn't care what they look like anyway! You might also want to consider inviting one mother, one grandmother, one niece, one nephew, one cousin and one sister to help (oh, add one brother, me!). Pierogis taste better when prepared as a family project, since they are a labor of love, made from the heart as all cooking should be.
Ok, so let's get started making Polish Pierogi with cheese and potato or cabbage and cottage cheese filling. (We make both.)
Making the Dough
1. 2 eggs
2. 1/2 cup of water
3. 2 cups of flour
4. 1/2 teaspoon of salt
We mix the above ingredients in a food processor. It's much faster requires very little effort. Here's the old-fashioned method if you have the time and energy:
Mound flour on kneading board and make a hole in the center. Drop eggs (2) into the hole (after removing the shells of course!) and cut into flour with a knife.
Add salt (1/2 tsp) and water (1/2 cup) and knead until firm. Let rest for 10 minutes covered with a warm bowl. When ready to start making Pierogi, divide dough
into halves and roll thin on floured surface. Marble, granite or other hard kitchen surface really make dough rolling a pleasant experience.
Click here to see a short video. (Coming soon) Next, we make the filling. This might be a good time to take a break, have a beer or glass of wine and put your
feet up for a few minutes. It's going to be a long day!
Cheese and Cabbage Filling
1. One pound of dry cottage cheese (My mom buys it at the Broadway Market in Baltimore.
2. Dash of Salt and Pepper
3. One small head of cabbage
4. One small onion chopped fine
5. One tablespoon of butter
6. Make small balls of filling in advance and place on a tray to speed the process (optional)
Quarter the head of cabbage and cook in salted water for 15 minutes. Drain; cool and chop finely. Saute onion in butter; add to cottage cheese and chopped cabbage. Mix thoroughly and set aside. Refrigerate if not using relatively soon.
Cheese and Potato Filling
1. One heaping cup of mashed potatoes (just mashed potatoes, no milk or butter)
2. One small cup of grated cheddar cheese (Substitute another type if you want).
3. A few finely chopped chives or green onion
4. Salt, pepper and season to taste.
5. Make small balls of filling in advance and place on a tray to speed the process (optional)
Mix all ingredients thoroughly and set aside. Refrigerate if now using relatively soon.
Back to the dough-
Roll dough to about 1/8" thick or less. You will get a feel for what works best after making a batch. Too thin and the pierogis will fall apart in the boiling process. Too thick and they taste like boiled dough balls. Use additional flour as needed to keep the dough workable and from sticking to your rolling surface.
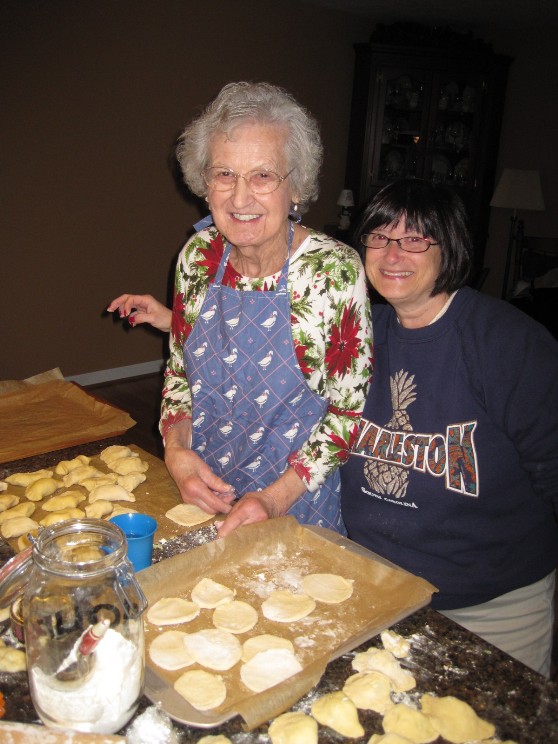
Use a drinking glass or any round shape (we use a clean tuna fish can) to cut the dough into round circles. Click here to see a short video. Pick up the dough circles and place on a floured holding area until you are ready to fill. Gather up extra dough pieces and re-roll. No need to waste on bit at this point. Hopefully you have some help by now because making pierogis is much easier if one person can prepare the dough will others fill and boil the dumplings.
Place a small spoonful of filling to one side of each dough circle, fold over and press edges together firmly. It's Ok to be creative in this stage as well. The hard-core pierogi makers in my mom's neighborhood twist the edges and make each dumpling into a work of art. Really, unless you have tons of time just make sure the edges are firmly sealed together. You can moisten the edges of each circle with water if you dough is too dry. It's also probably best to keep fillings separate throughout the entire process if making both types. Some people like one and not the other and it's very difficult to tell them apart once circles are filled, folded and sealed. There are some photos in the gallery below that may help you with this part of the recipe.
Place a small spoonful of filling to one side of each dough circle, fold over and press edges together firmly. It's Ok to be creative in this stage as well. The hard-core pierogi makers in my mom's neighborhood twist the edges and make each dumpling into a work of art. Really, unless you have tons of time just make sure the edges are firmly sealed together. You can moisten the edges of each circle with water if you dough is too dry. It's also probably best to keep fillings separate throughout the entire process if making both types. Some people like one and not the other and it's very difficult to tell them apart once circles are filled, folded and sealed. There are some photos in the gallery below that may help you with this part of the recipe.
Cooking the Pierogi
Prepare a large pot of boiling water and place a second pot of cold water nearby on the counter. Drop pierogis into boiling water (just enough to cover the surface). Pierogis will sink at first but when they start floating, begin to time the cooking process- about 3-5 minutes. Lift pierogis out of boiling water with a slotted spoon. Place into pot of cold water to cool slightly. Once they are cool enough to handle, remove and rub each dumpling with a small pad of butter. Coat both sides lightly. Continue this process until all pierogis are cooked. It's also a good idea to change water in both pots occasionally as it can get pretty thick with excess dough and flour. Place finished pierogis in a plastic storage device or freezer bag if not eating right away. Refrigerate once they are cool. If eating now, we'll tell you what to do below.
Prepare a large pot of boiling water and place a second pot of cold water nearby on the counter. Drop pierogis into boiling water (just enough to cover the surface). Pierogis will sink at first but when they start floating, begin to time the cooking process- about 3-5 minutes. Lift pierogis out of boiling water with a slotted spoon. Place into pot of cold water to cool slightly. Once they are cool enough to handle, remove and rub each dumpling with a small pad of butter. Coat both sides lightly. Continue this process until all pierogis are cooked. It's also a good idea to change water in both pots occasionally as it can get pretty thick with excess dough and flour. Place finished pierogis in a plastic storage device or freezer bag if not eating right away. Refrigerate once they are cool. If eating now, we'll tell you what to do below.
Boiling Pierogis for 3-5 minutes and remove with a slotted spoon
Eating Pierogis
Whether eating fresh-made, refrigerated or frozen, pierogis should be re-heated in a frying pan with butter until the edges turn slightly golden brown. Additional butter and seasoning can be added on your plate. Enjoy!
Whether eating fresh-made, refrigerated or frozen, pierogis should be re-heated in a frying pan with butter until the edges turn slightly golden brown. Additional butter and seasoning can be added on your plate. Enjoy!
making pierogi for Wigilia